You may have heard about resin and the many advantages of the product, but maybe you are not sure how to make the mixture, or perhaps you know a lot about the product, but you could use a few tips about mixing it? Regardless which of the above situations is yours, we have written this blog post for the purpose of equipping you to mixing this product in a forced action mixer.
We want to give you some great tips for making a resin mixture in a forced action mixer, allowing you to save time and money, as well as avoiding flooding and weeds and much more. Furthermore, you will be able to read a 5-step guide to how the process can look when you are doing the mixing.
Go straight to guide
Quick Overview of Mixing with Resin
First of all, let’s explain briefly what resin is: Resin is an artificial polyurethane product similar to plant resin. It is a very strong varnish, usually consisting of 2 components, a glue and a curing agent. The glue is often referred to as component A, while the curing agent is called component B in a resin mixture, and when those two are mixed, a chemical process takes place.
Before you even think about getting started on mixing resin, it is important to prepare in terms of selecting the base before installing the surfacing. To find out why this is so important, read our 5-step guide further down in this post. After selecting or repairing your base, you are ready to mix the resin – this is where you whisk together the adhesive and the curing agent.
It is important to work quickly, as resin is only workable for 30 minutes. While the resin and the curing agent is being whisked together, you might want to mix your aggregate (aggregate could be things like pebbles, gravel, or sand) in a forced action mixer. It’s a good idea to do it that way, because after whisking together the resin, you can continue right into mixing the resin with the aggregate in the forced action mixer. Once the resin is mixed with the aggregate, you are ready to install the resin mixture.
Read more about the best way to do this further down in our 5-step guide
In short, the process looks like this:
-
Make sure you have the perfect base
-
Whisk the resin with a SoRoTo SA120NEG
-
Mix the aggregate in a forced action mixer, 100-120L is recommended here
-
Mix your resin-bound aggregate
-
Install your resin-bound aggregate
Guide to the mixing process
If you think that the above review of mixing resin went a little fast, here is a more thorough guide of what to pay attention to during the various steps of the process. Thus, this 5-step guide is an example of how a typical process of installing a resin surface might look, along with what you have to be aware of along the way.
1. Make sure you have the perfect base
This step is an important preparation before you can get started on installing the surfacing, since the best condition for installing a resin surface is a base without holes and uneven areas. Furthermore, the surface is not intended to be higher than the adjoining grass areas, flowerbeds, etc., so you may want to start by excavating and then installing concrete to a thickness of 18mm. 18mm is the most normal start height for things like building driveways for regular passenger cars, while 15mm is the standard if it is just for pedestrians.
2. Whisking resin
Now you are ready to mix, and first you have to whisk the resin. This is because the two components (the resin and the curing agent) must be combined, which you should do with a stirring device or a whisk. Make sure you put a tarp under the bucket you use for whisking. Use a whisk along the lines of a SoRoTo® SA120neg, that is negatively wrapped, so it is attracted to the middle of the whisk and down to the bottom of the bucket, so the risk of spilling and sprays outside the bucket is significantly improved.
And REMEMBER to use gloves!
Pour the two components together – and make sure ALL of the curing agent gets in there! – and whip in the resin for about 30-60 seconds, until it reaches a homogenous, creamy consistency. The resin will change color and become whiter as you whisk it.
Also, make sure that the whisked resin is not exposed to water. If water gets in it, small crystals will develop in the resin, and you won’t be able to use it.
You can work with the resin for about 30 minutes, and the drying time is about 8 hours – if the temperature is up to 20°C. If the temperature is higher, the drying time is significantly reduced. If it is 30°C, for instance, the drying time is cut in half!
For safety’s sake, you should make sure that nobody walks or drives on the surface for about 24 hours, even though the resin dries quickly.
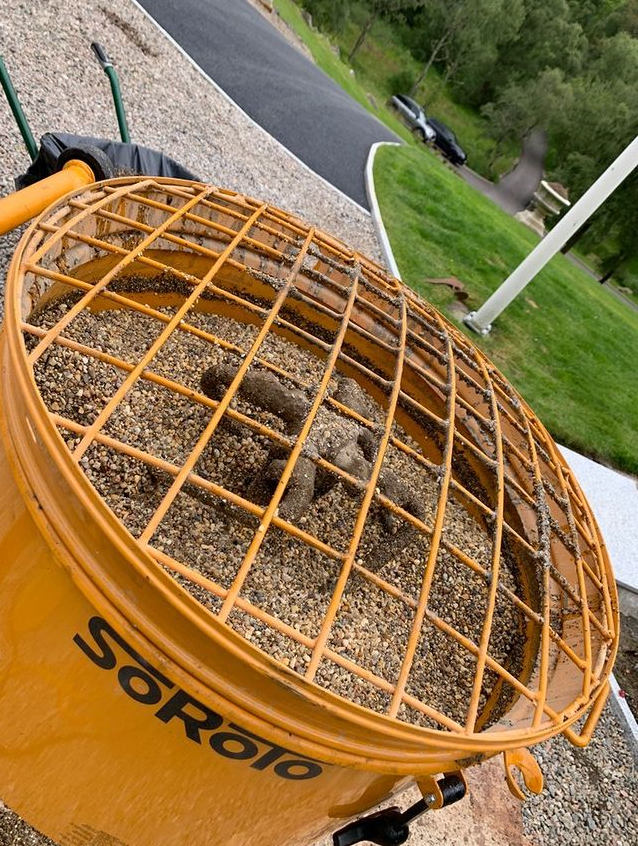
3. Mixing the aggregate
While whisking the resin, you may want to pour the first round of aggregate into your forced action mixer. This might be something like 2 backs of pebbles + 1 bag of tiny pebbles.
Run the aggregate through the forced action mixer for about 30 seconds. I you are using several colors (the options as to colors and patterns are virtually limitless with resin), they are now distributed evenly, and the majority of the dust is removed. If there is too much dust in your mixture, this can impact the look of the floor, giving a shadowy effect.
4. Mixing your resin-bound aggregate
Pour resin into the forced action mixer, mixing it with the aggregate. Let it run for 30-40 seconds, and then carefully pour in the rest of the pebbles and sand. It is important to distribute the sand evenly, as it will otherwise appear as little unsightly lumps in the mixture. Go for a porridge-like consistency.
NOTE: Do not mix longer than 5 minutes after pouring in the resin! And each batch needs to be mixed for the exact same amount of time to prevent any differences in color. Now, you are ready to use your resin-bound aggregate mixture.
Poured it into a plastic-lined wheelbarrow, turn off the forced action mixer, emptying it COMPLETELY using a trowel and a brush. Wipe it clean with rubbing alcohol, and finally wipe it with WD40, so the resin won’t stick. We recommend doing this between batches. If there are remnants from prior batches, this can also cause color variations or spots.
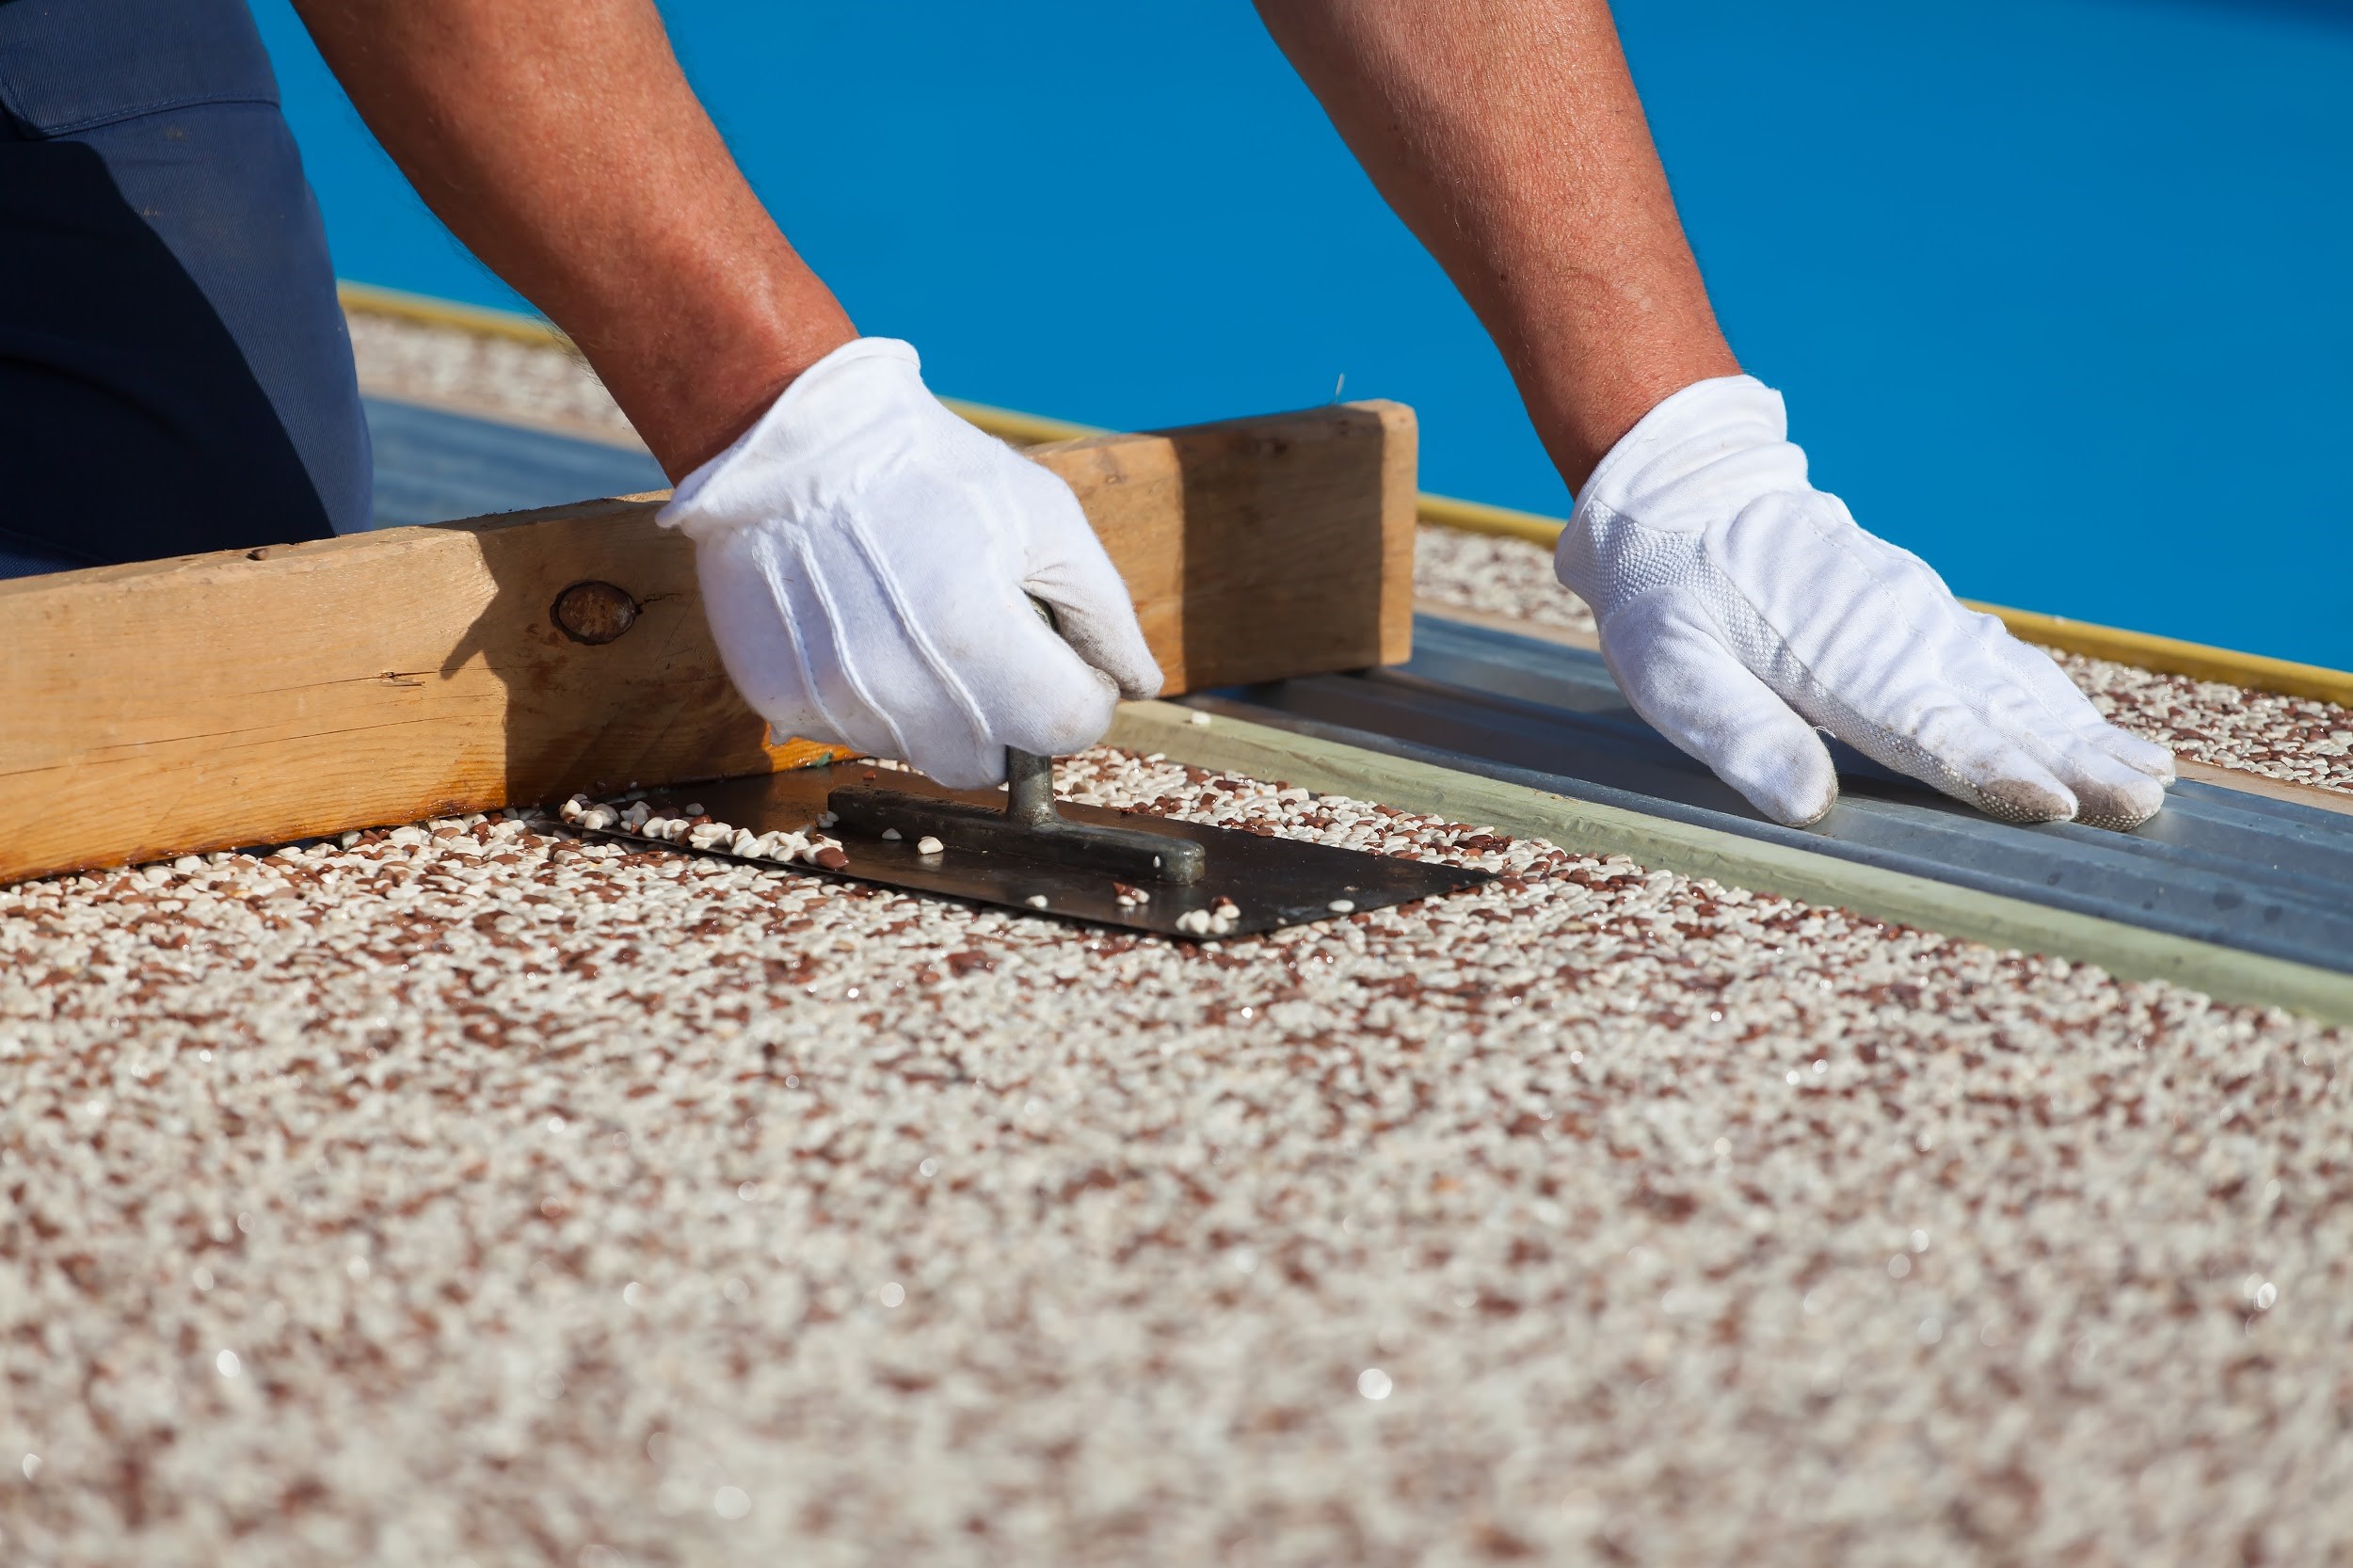
5. Install your resin-bound aggregate
Check one more time that the base is as it should be. You may want to chalk out one area at a time, numbering them to make sure your mixture is distributed evenly.
Next, pour all of the mixture out in one pile. Remember to work from the furthest edge inward. Wipe your trowel with rubbing alcohol regularly (after about every 6 ”strokes”, so the resin will not get stuck). Use the trowel to press the mixture down toward the based, compressing it and spreading it to the desired depth.
Make sure you don’t make too many “passes” with the trowel – that can ruin the surface. Once you have spread the mixture, the closest edge needs to stay loose and “rough”, so it doesn’t set completely before the next batch is ready. Then you can pour in the next batch of mixture – preferably before the edge from the prior batch has time to dry – that way you get a completely invisible transition.
The above is our suggestion for a 5-step guide to mixing resin in a forced action mixer, which is obviously not an exhaustive guide for how to do it. If you are not sure what a resin-bound surface is, or what the advantages of it are, you may want to read our more in-depth blog posts: “What are the Advantages of Epoxy Resin / What is Epoxy Flooring".
What do I need to install a resin surface?
Once you get started on mixing the resin, there is limited time before it hardens and cures. Because of this, you will want to be a well-prepared a possible, by having everything you’ll need before you start.
There are a number of tools required for the installations, so here is a list of tools that we recommend having if you will be mixing resin for things like a driveway.
Equipment list:
- Forced action mixer, SoRoTos model 100-120L is recommended for this purpose
- Stirring system with SA120NEG whisk for the resin binder for thin liquid products
- Cement bucket with a capacity of about 10L
- A flat concrete jutter (used for leveling/smoothing)
- 2 trowels
- Protection, such as gloves, glasses and knee protection
- Hydrometer for checking soil humidity (humidity below 80%)
- Burner for drying and warming the base
- Barrier (tape, cones, or the like)
- Other random items: chalk, measuring tape, duct tape (for edging)
That was our suggested equipment list, which can obviously be adjusted according to which tools you prefer = but your preparations are not quite finished. It is a great idea to call together a team of 3 people in order to be as efficient as possible (which is very important when working with resin).
The 3 roles should be assigned as follows:
-
One person primarily mixing
-
One person checking the surface, spreading the aggregate with the concrete jutter
-
One person chalking up the desired areas, ensuring that only one batch of resin is poured out at a time and that it is placed the right place – with the aggregate distributed perfectly.
You can read more about the difference between resin-bound and resin-bonded aggregates here.
Now, you should be well-equipped to make a resin mixture in a forced action mixer, which gives you the best results when mixing resin (if you are unsure about what to mix in a forced action mixer and what to mix in a drum mixer, you can read more about that here). If you are looking for more information on the topic, you can turn to the other blog posts on our website.
Good luck on your project!